Notifications
Get Every Recommendation Without Even Logging In To PowerBoard!
If you want to see what Recommendations PowerBoard has to offer, what you generally do is - Log in to PowerBoard → Read the recommendations summary → Go to the detailed Recommendations section to get more details. For this, you have to allocate some of your precious time.
What if you can get all these recommendations without the hassle of logging in to PowerBoard? You are in luck. PowerBoard does have this facility in the form of Notifications.
Notifications will help you get all the important alerts via Slack, Microsoft Teams or E-mail - No need to log in to PowerBoard.
Who Can Benefit From The Notifications?
- Suppose Richard is the CEO of a big smartphone company. Every day he has to perform a myriad of duties. Despite his busy schedule, he wants to keep himself updated on the company's security posture, expenditures and the overall IT health. Richard can do so by telling his employees, "Look, I don't have time to log in and see all the recommendations. All the important recommendations must come to me in the form of recommendations."
- If you are connected with the day to day management of the IT workloads, you too can benefit from the recommendations -
Suppose you are one of the product managers. You make sure that the apps and website work as intended without any security loopholes or inefficient processes. But your organisation is a dynamic organisation and each day there changes happen in your Azure platform. With changes come security misconfigurations. Maybe, somebody left a security group open to the public. Until you log in to PowerBoard, you remain unaware of the new issues that have cropped up. To solve this problem, PowerBoard offers you the provision to get timely notifications. - The people who see the financial aspects in the organisation can get timely cost saving recommendations in the form of notifications. So for example, wherever PowerBoard sees any unattached resource or IP address, it can send you notification about it right away.
- The pressure of the DevOps team can decrease a little if they get timely notifications on security and costs.
Location of The Notifications Section
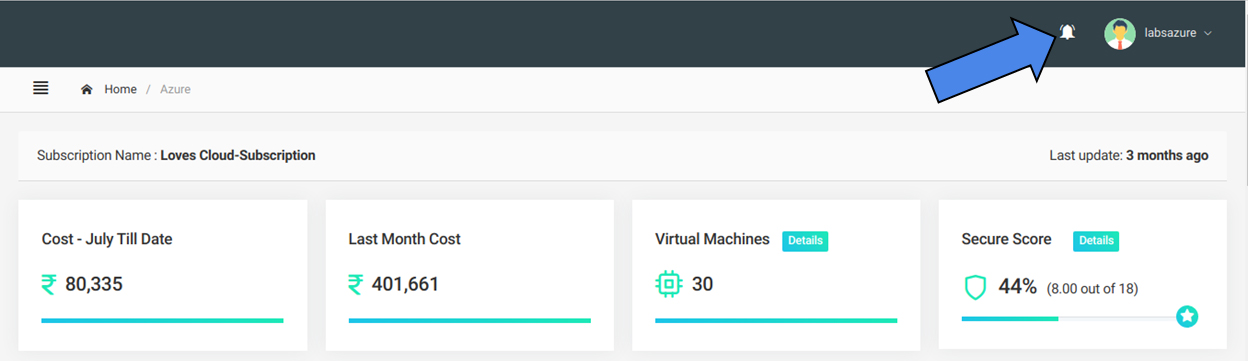
You can locate the Notifications section at the top-right corner of any page (except the Organizations page) of PowerBoard. Look for the bell icon. That's Notifications.
What Kinds Of Notifications Can You See?
The Notifications section only shows the most important or high impact recommendations in the form of notifications.
These notifications are organised into three groups -
- Security
- Cost Savings
- Unattached Resources
So, you will get notifications regarding these three aspects. This is logical. You would want to get the security and cost related notification on a priority basis. These things can't wait.
What Happens If You Click On The Notifications Icon?
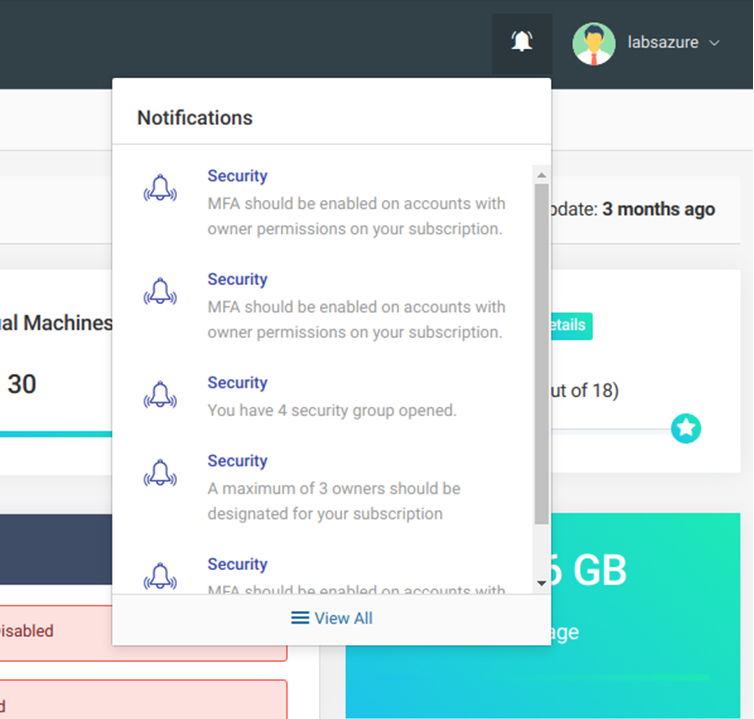
If you click on the bell icon, you get to see the first 5 notifications. If you have more than 5 notifications, PowerBoard will prompt you to 'View All.'
Clicking On The 'View All' Link
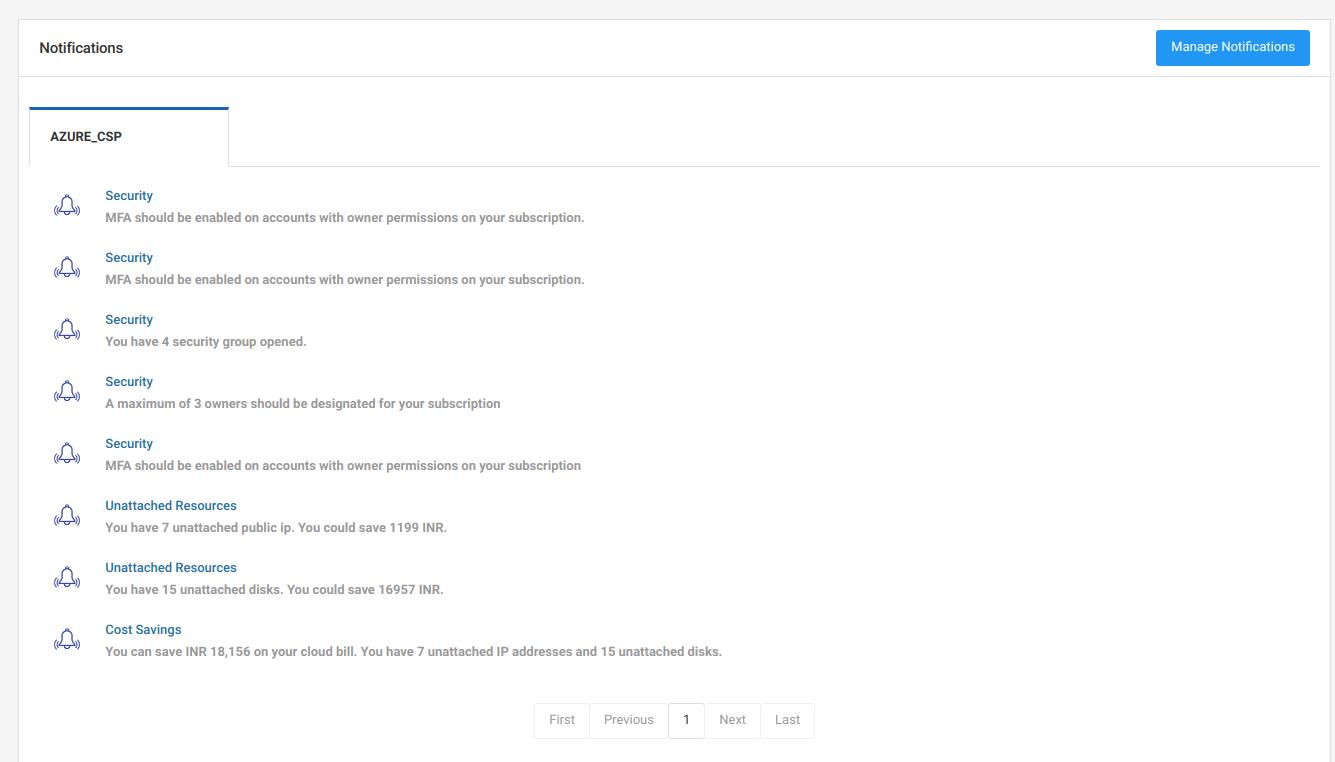
Now if you click on the 'View All' link, you will be transported to the main Notifications page. You can read all the notifications here.
The USP of these notifications is that you can actually see how much money you can save if you take actions after reading the notifications. The notifications will tell you how much you can save by doing away with the unattached resources.
As far as security is concerned, these notifications are actually the Recommendations that you see in the Recommendations page. But the notifications only include the most important security notifications.
How To Get Notification Without Logging Into PowerBoard
The actual purpose of Notifications is to let you view all the important recommendations, cost and security alerts anytime, anywhere - without the need to log in to PowerBoard. This is possible and easy to set up. Here are the steps -
Press The Notification Icon → Click on the 'View All' link → Click on the 'Manage Notifications' on the right hand side ( See Figure Below)
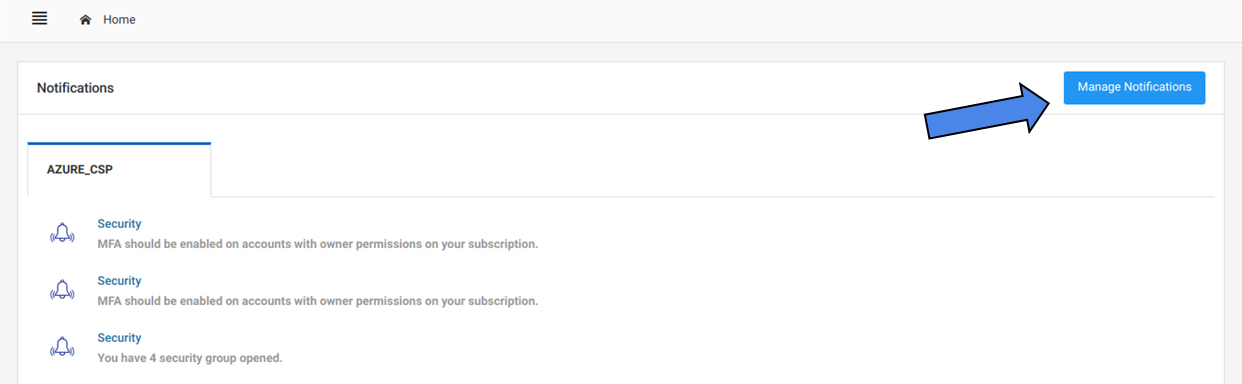
Now when you click on the 'Manage Notifications' icon, you will go to a page where you can see the existing notification schedule - if you have already set up the Notifications module. You can see who in your organisation is getting what kinds of Notifications ( among security, cost and unattached resources) and via which channel.
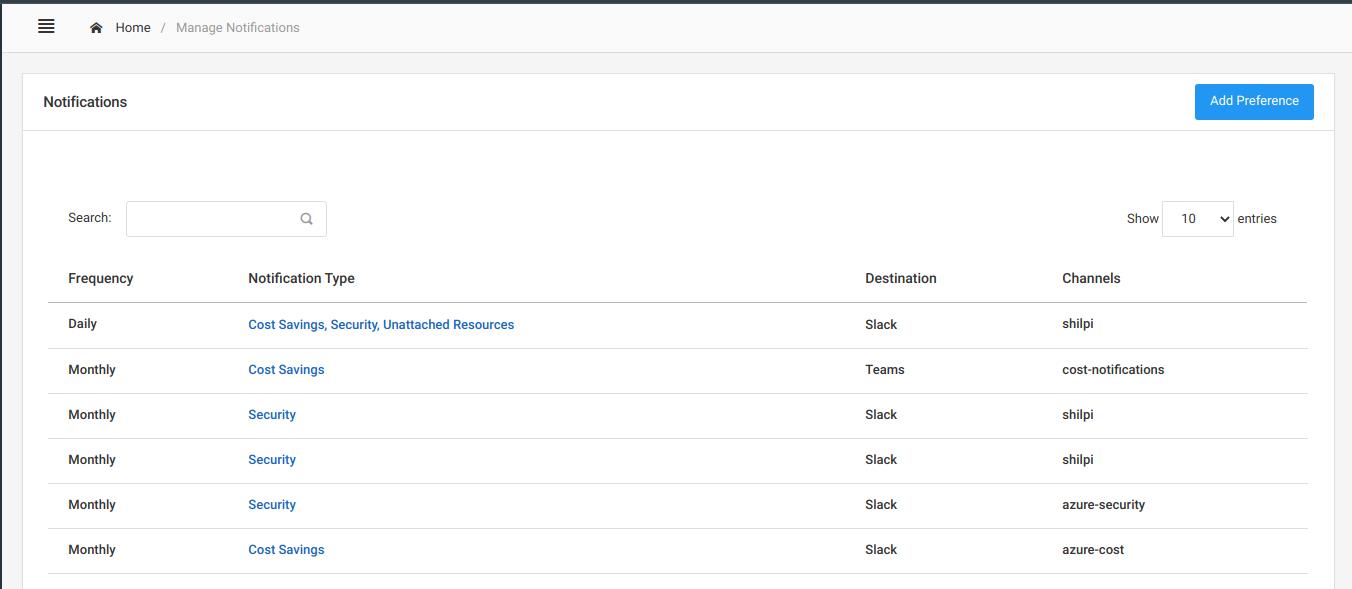
If you don't have any existing Notifications profile the area will be blank.
How To Set Up Notifications To Get Alerts On Slack/Teams/Email ?
When you enter the main Notifications page by clicking on the 'View All' option, you will see the 'Manage Notifications button. Click on it and you will be in the notification set up page. On the upper right side of the set up page you will see an 'Add Preference' button.
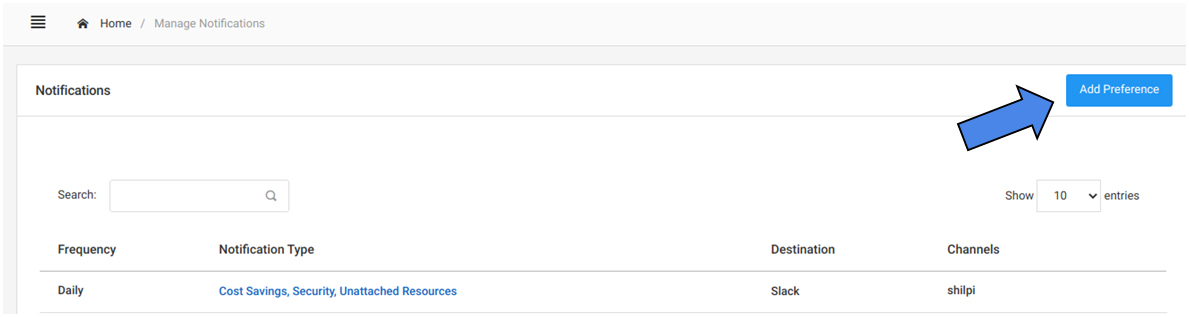
Click on the Add Preference button. A small window will pop up. Here you can specify what Notifications you want to get as alerts.
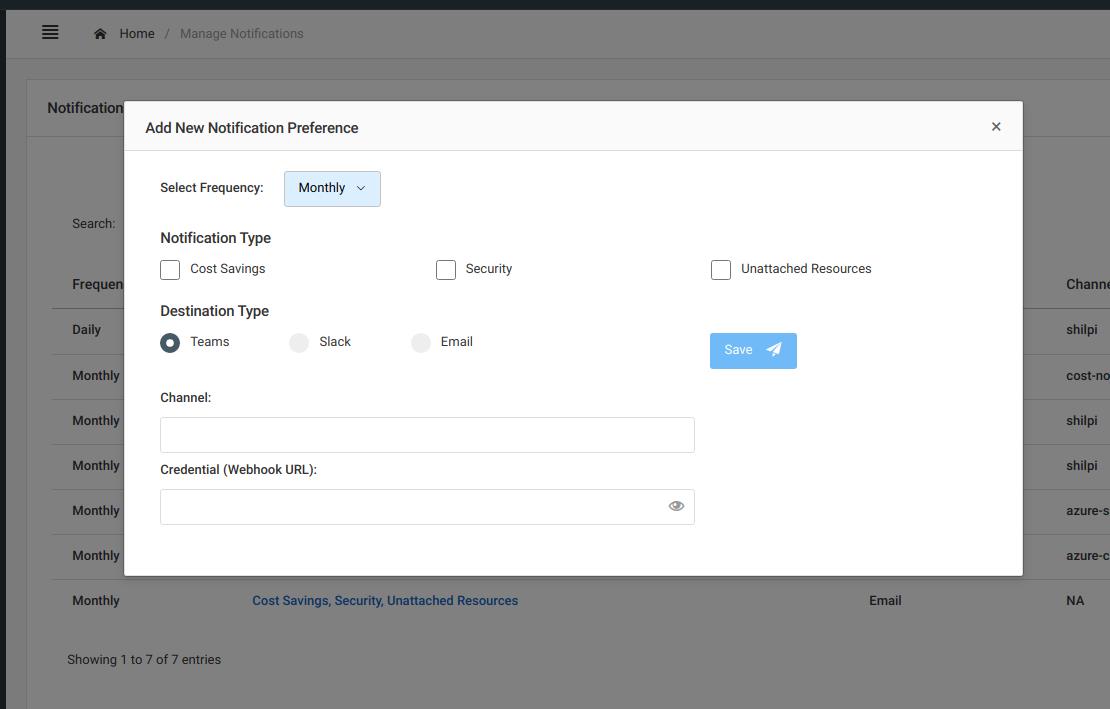
There are three parts of this set up window -
- Frequency
- Notification Type
- Destination Type
By using the Select Frequency option you can set up the frequency of the alerts. You can choose from Monthly, Weekly and Daily alerts. That's the power of PowerBoard - you get daily automated Notifications to help you keep your IT resources secure and cost effective.
By using the 'Notification Type' section you can set up what kinds of Notifications you want to get (among cost savings, security and unattached resources). If you are responsible for managing only the financial aspect of your organisation you would want to receive only the cost related notifications. A CSO would like to receive the security related notifications only. But a CEO would love to get all the notifications to stay in the loop.
By using the 'Destination Type' option you can choose ( among Teams, Slack, Email) where you want the notifications to arrive. Clicking on either of these two team messaging platforms will open two blank fields with the - Channel and Webhook URL. In the Channel field, type in the channel name where you have authorised the Notifications to arrive. And on the Webhook URL field, type in the URL of that channel.
Fret not, let us show you how you can set up Slack and Teams to receive Notifications from PowerBoard.
How To Set Up Slack To Receive Notifications From PowerBoard
- First of all make sure you are logged in to Slack with your official organisation account.
- Now go to the URL - https://api.slack.com/apps
- Press the Create New App Button
- Give an App name - anything.
- Select the Workplace - Basically your organisation's Slack account.
- Click on the create app link.
- Among all the options, choose the 'Incoming Webhooks' option.
- Activate the Incoming Webhook by sliding the on/off button.
- Go to the bottom and press the 'Add New Webhook' to workspace button.
- Select any of the pre-existing channels in your organisation's Slack account where you want the notifications to arrive.
- Press Authorize,
- Go to the bottom, you will see the Webhook URL. Beside that, you can see the channel that is associated with the URL.
Now paste that URL to the Webhook URL field in PowerBoard's Notification set up window ( Make sure that you have pressed the checkbox beside Slack). And paste the name of the channel to the channel field ( Don't forget to put # before the channel name). Now click on the Save button in PowerBoard's notification set up window.
And voila! You are all set.
How To Set Up Teams To Receive Notifications From PowerBoard
- Make sure that you are logged in to your organisation's Teams account.
- Can you see the names of different channels on the left hand side?
- Hover the cursor over the channel where you want the notifications to arrive.
- Click on the 3-dot menu option beside the selected channel.
- From the options, click on the Connectors option
- A window will pop up
- From the options, click on the Incoming Webhooks link.
- Give a name to the Webhook
- Add an icon.
- Press the Create button.
- A webhook URL will be generated.
( You don't need to specify channels here unlike Slack, because, you have already selected the channel where you want your notifications to arrive - see the third and fourth steps)
Now copy that URL and paste it in the URL field in PowerBoard's Notification set up window. ( Make sure that you have pressed the checkbox beside Teams). Type in the channel name in the channel name field. And you are all set,
If you select the Email option, you don't need to set up anything. PowerBoard will send notifications to the Email address that is registered with your PowerBoard account.